
Have You Ever Wanted to Give Your Game Eyes?
Think about the last time you played a first-person shooter. When you clicked the mouse, how did the game know you hit the enemy? Or think about a character walking on a bumpy floor. How does the game keep its feet stuck to the ground instead of floating in the air?
The answer is almost always a unity raycast.
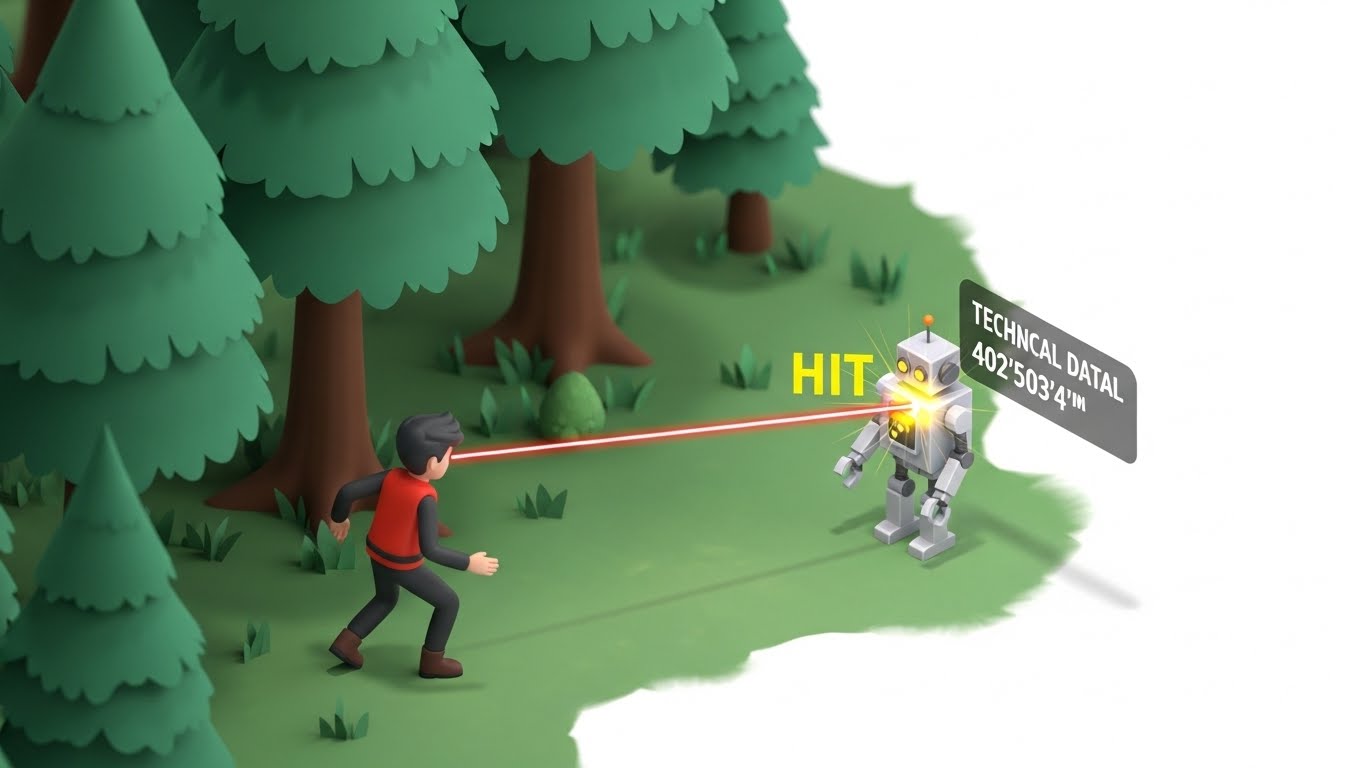
If you’re new to game development, the word “Raycast” might sound like something out of a sci-fi movie. In reality, it’s one of the most useful tools you’ll ever use in Unity. It’s basically an invisible laser beam that shoots out from a point in your game and tells you what it hits.
In this guide, I’m going to break down everything you need to know about using a Unity raycast. We’ll keep it simple, skip the confusing math, and focus on how you can actually use it to make your game feel professional.
What Exactly is a Unity Raycast?
Imagine you’re holding a laser pointer in a dark room. You point it at the wall, and you see a red dot. That dot tells you two things: there’s a wall there, and you know exactly how far away it is.
A unity raycast works exactly like that laser.
In your code, you tell Unity where the “laser” starts (the origin) and which way it should point (the direction). Unity then “fires” that beam and gives you back a report. It tells you:
- Did I hit something?
- What did I hit?
- Where exactly did the hit happen?
- How far away was it?
It’s a simple concept, but it’s the backbone of almost everything, from picking up items to AI vision.
The Basic Building Blocks of a Raycast
Before we look at the code, we need to understand the four things Unity needs to make a raycast work. If you miss one of these, your “laser” won’t fire correctly.
1. The Origin
This is where the beam starts. It could be the tip of a gun, the center of your camera, or the bottom of a player’s feet.
2. The Direction
Which way is the beam going? You might want it to go straight forward, or maybe straight down to check for the floor.
3. The Distance
How far should the beam go? You don’t always want a laser that goes on forever. If you’re making a “pick up” system, you might only want the raycast to go two meters in front of the player.
4. The Hit Result
This is the info we get back. In Unity, we store this in something called a RaycastHit. Think of this as the “receipt” from the laser beam.
Writing Your First Unity Raycast Script
Let’s look at how this looks in C#. Don’t worry, we’ll keep it clean and simple. Here’s a basic script that shoots a raycast forward from whatever object it’s attached to.
void Update()
{
    // Define the direction (forward)
    Vector3 forward = transform.TransformDirection(Vector3.forward);

    // Fire the unity raycast
    if (Physics.Raycast(transform.position, forward, 10))
    {
        print("We hit something!");
    }
}
In this example, we’re telling Unity: “Start at my position, go forward, and if you hit something within 10 meters, tell me.”
It’s a great start, but usually, we want to know what we hit, not just that we hit something.
Getting Info from the Hit
To get the details, we use the out keyword. This is a bit of C# magic that lets the raycast fill a variable with information.
void Update()
{
    RaycastHit hit; // This is our "receipt"

    if (Physics.Raycast(transform.position, transform.forward, out hit, 100))
    {
        Debug.Log("Hit: " + hit.collider.name);

        // We can even see how far away it was
        Debug.Log("Distance: " + hit.distance);
    }
}
Now, every time your Unity raycast touches an object, it’ll tell you the name of that object in the console. This is how you start building logic like “if the hit object is an enemy, take away health.”
Why LayerMasks are Your Best Friend
Here’s a common problem: You fire a raycast from the player’s head, but it hits the player’s own hat. Now your “shooting” script doesn’t work because you’re hitting yourself!
This is where LayerMasks come in. They let you tell the raycast to ignore certain things. You can say, “Hey, only hit things on the ‘Enemy’ layer and ignore the ‘Player’ layer.”
Using LayerMasks is also much better for performance. If you have a scene with 1,000 objects, your game doesn’t have to check all of them. It only checks the ones you care about.
public LayerMask enemyLayer; // Set this in the Inspector

void Update()
{
    RaycastHit hit;
    if (Physics.Raycast(transform.position, transform.forward, out hit, 100, enemyLayer))
    {
        // This will ONLY run if we hit an enemy
        Destroy(hit.transform.gameObject);
    }
}
Visualizing the Ray with Debug.DrawRay
One of the most frustrating things about a Unity raycast is that it’s invisible. When your code isn’t working, you can’t see why. Is the ray pointing the wrong way? Is it too short?
To fix this, we use Debug.DrawRay. This draws a line in the Scene View (not the Game View) so you can see exactly where your laser is going.
void Update()
{
    Vector3 direction = transform.forward * 10;
    Debug.DrawRay(transform.position, direction, Color.red);
}
If you’re having trouble getting your hits to register, always draw the ray. It’ll save you hours of head-scratching.
3 Real-World Ways to Use Raycasts
Let’s talk about how you’ll actually use this in a real game. Theory is fine, but seeing it in action is better.
1. Making a Ground Check
If you’re building a platformer, you need to know if the player is on the ground before they can jump. You can shoot a short Unity raycast from the player’s feet straight down. If it hits the “Ground” layer, the player is grounded.
2. Object Interaction
In many first-person games, a little crosshair appears when you look at a door or a light switch. This is done by shooting a raycast from the center of the camera. If the ray hits an object with an “Interactable” tag, you can show a prompt like “Press E to open.”
3. Bullet Physics (Hitscan)
Most fast-paced shooters don’t actually fire a physical bullet object (like a rocket). Instead, they fire a raycast the instant you click. It’s faster, more accurate, and much easier on the computer’s processor.
2D vs 3D Raycasting
If you’re making a 2D game, things work a little differently. You won’t use Physics. Raycast. Instead, you’ll use Physics2D.Raycast.
The logic is mostly the same, but there’s one big catch. In 3D, the raycast starts at a point and goes through objects. In 2D, if your raycast starts inside a collider, it might hit that collider immediately and stop. You have to be a bit more careful with where your 2D rays start.
Common Mistakes to Avoid
Even pro developers mess up raycasting sometimes. Here are a few things to watch out for:
- Forgetting Colliders: A raycast will only hit something if it has a Collider component (like a Box Collider or Sphere Collider). If you’re hitting “nothing,” check your colliders first.
- Infinite Loops: Don’t fire 1,000 raycasts every single frame if you don’t have to. While they’re fast, they aren’t free. Use them only when needed.
- Trigger Colliders: By default, raycasts hit “triggers” too. If you want them to go through a trigger (like a checkpoint), you’ll need to change the settings in your Project Settings or specify it in your code.
Performance: Keep Your Game Running Smooth
When you start using Unity Raycast a lot, you might worry about slowing down your game. Generally, a few dozen raycasts per frame won’t hurt a modern PC or phone.
However, if you’re building something like a complex AI system that needs to “see” in every direction, you should look into RaycastCommand. This lets you fire many rays at once on a different thread, which keeps your frame rate high. But for 99% of beginners, the standard way is just fine.
How to Handle Multiple Hits
Sometimes, you don’t want the laser to stop at the first thing it hits. Imagine a sniper bullet that goes through three enemies. For that, we use Physics.RaycastAll.
Instead of returning one hit, this returns an array of hits. You can then use a “foreach” loop to go through them and apply damage to everyone the laser touched.
void FirePiercingShot()
{
    RaycastHit[] hits;
    hits = Physics.RaycastAll(transform.position, transform.forward, 100);

    for (int i = 0; i < hits.Length; i++)
    {
        Debug.Log("Hit enemy number: " + i);
    }
}
Wrapping It All Up
Learning to use a Unity raycast is like getting a superpower in game development. It takes you from making objects that just “bump” into each other to making games that actually understand the world around them.
The best way to get good at this is to just try it. Open a blank project, put a cube in front of your player, and try to make the cube change color when you look at it. Once you get that working, you’ve mastered the basics.
Don’t let the code scare you. It’s just a laser beam. Once you know how to point it and how to read the “receipt,” you can build almost anything you can imagine.
Final Thoughts for Beginners
Remember, game dev is all about trial and error. If your Unity raycast isn’t hitting what it should, don’t get frustrated. Draw the ray with a bright color, check your layers, and make sure your colliders are turned on.
You’re now ready to add “vision” and “logic” to your Unity projects. Go ahead and start experimenting—you’ll be surprised at how much easier game logic becomes once you have a laser pointer in your pocket!